
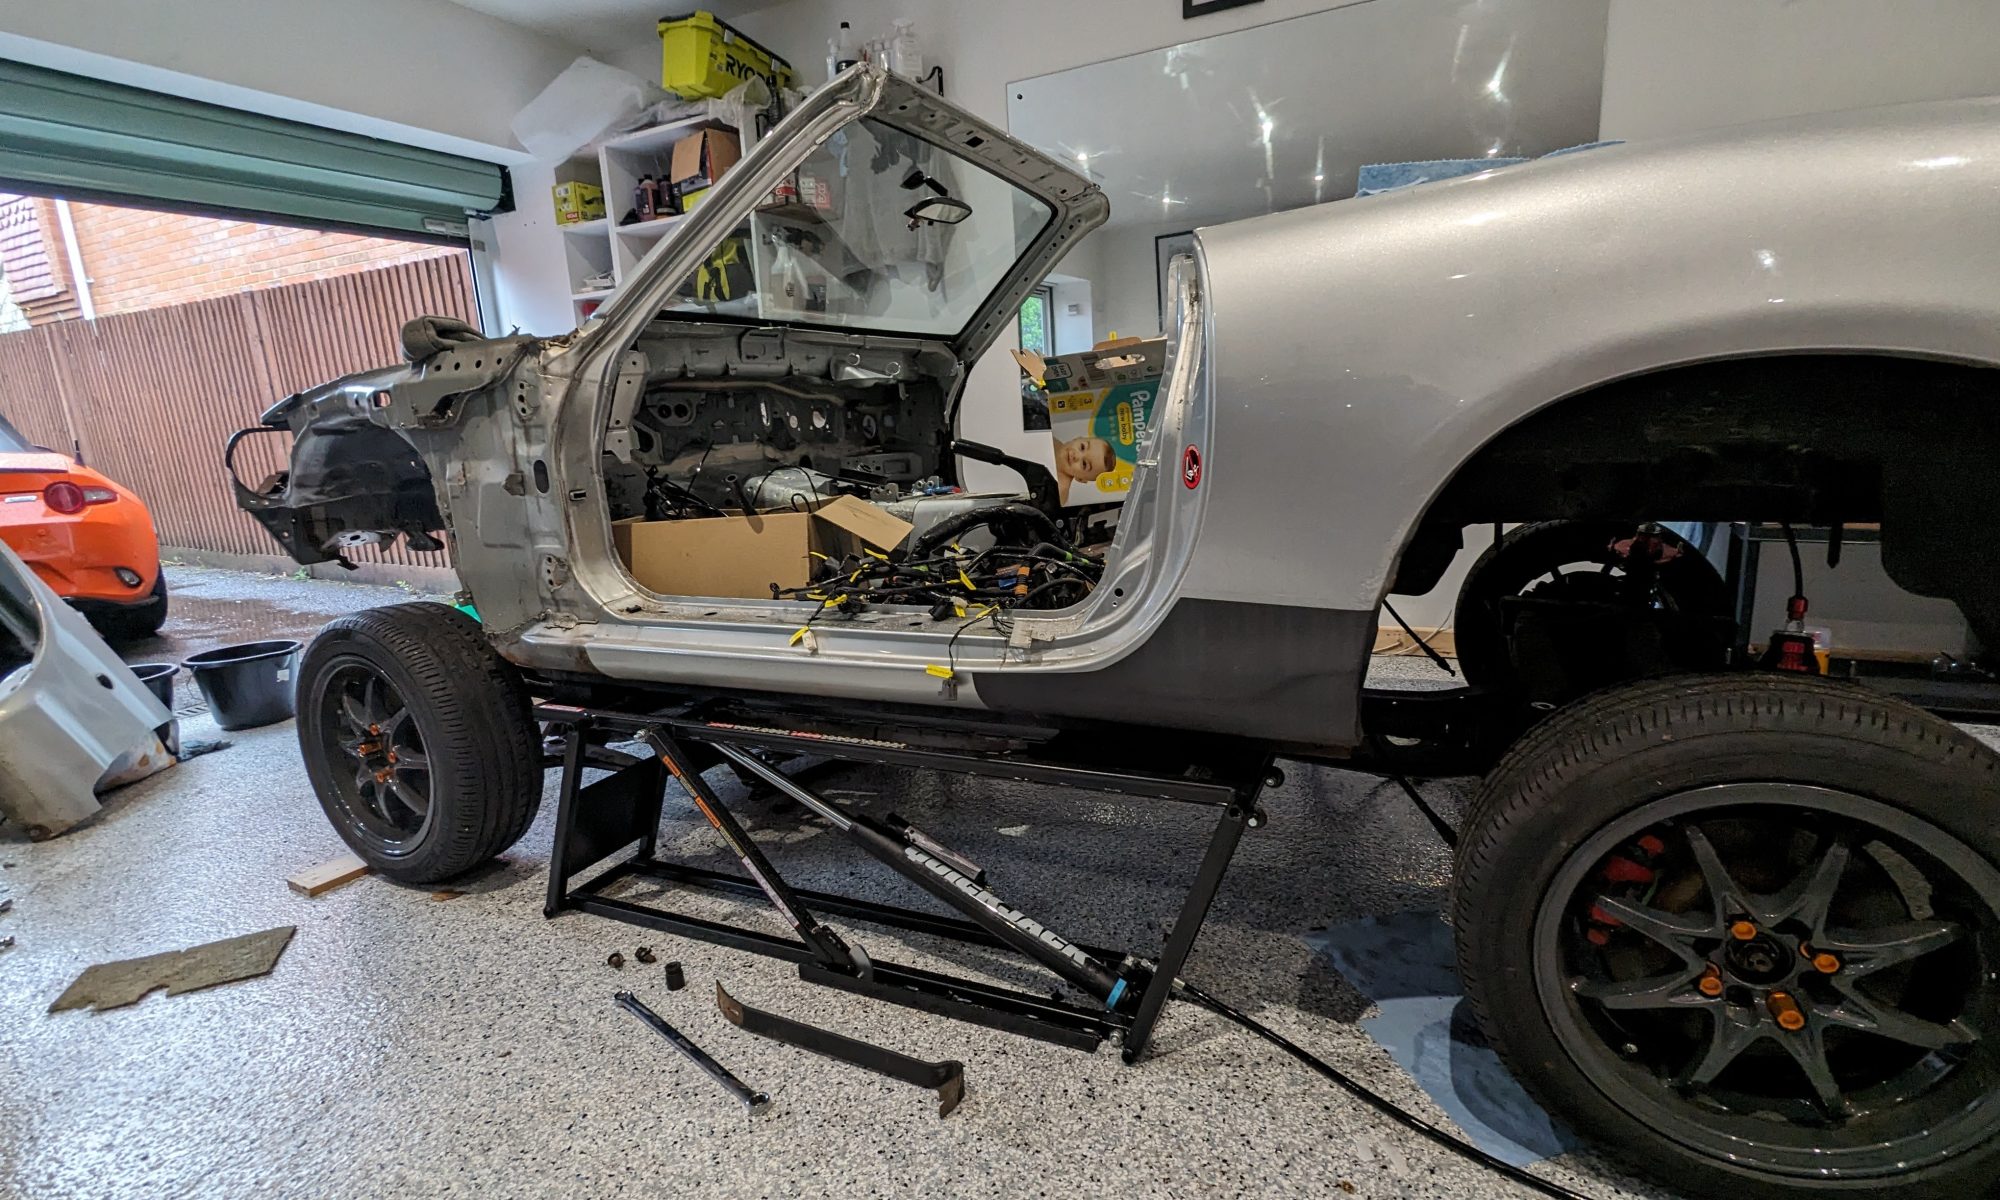

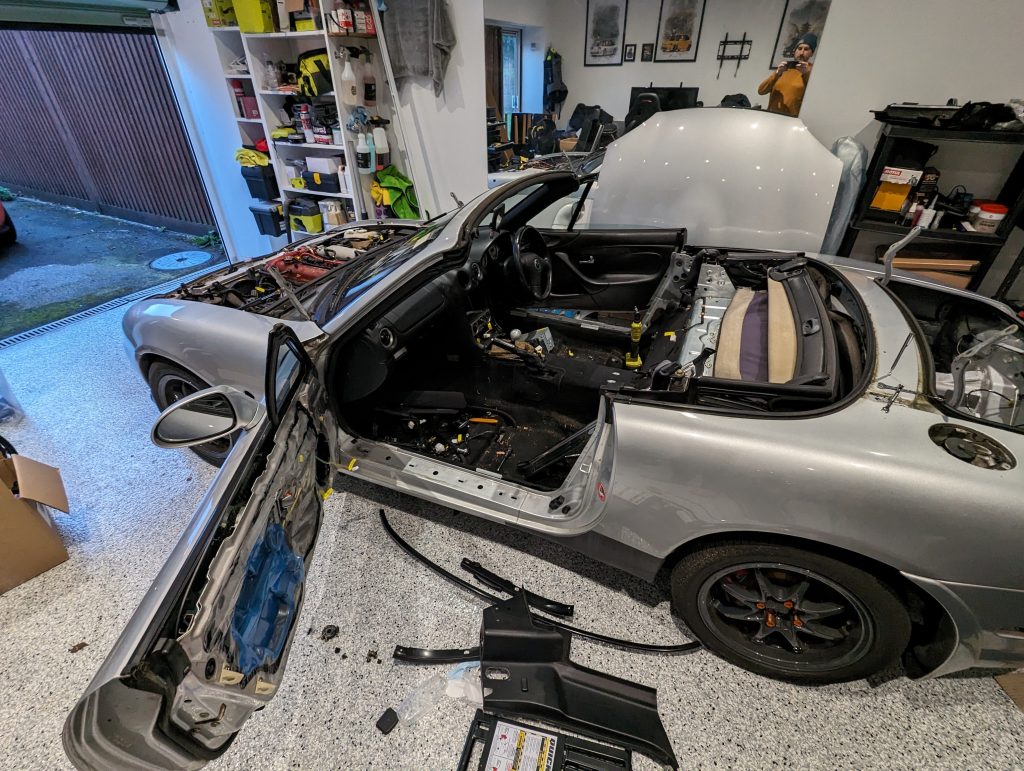
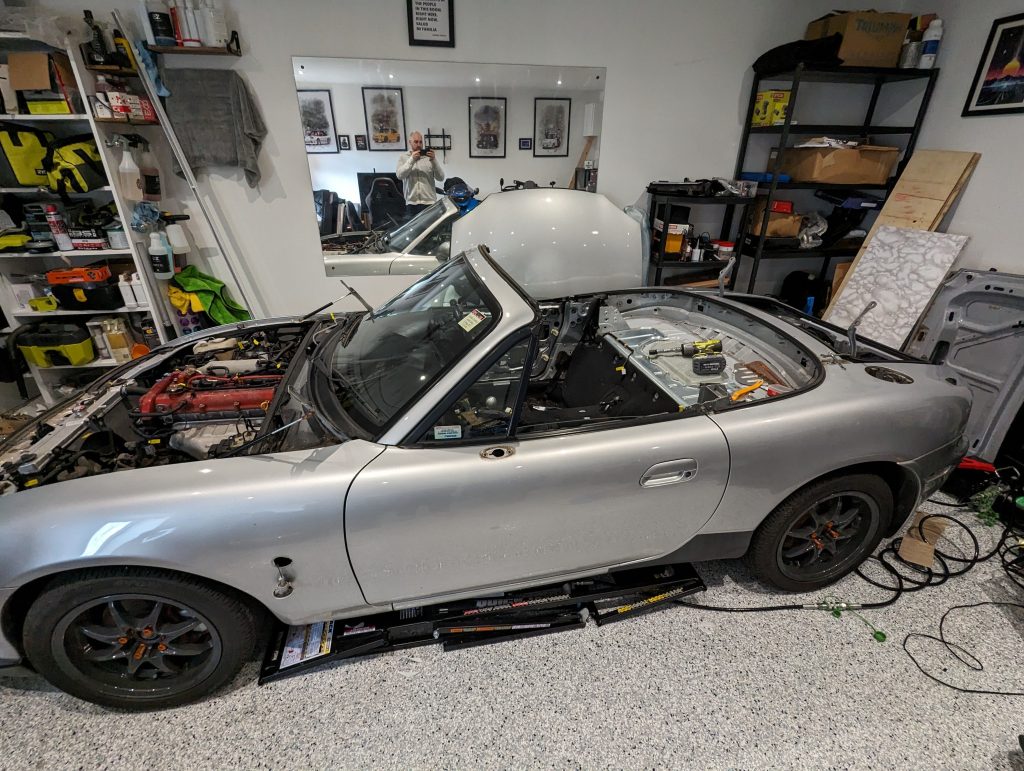
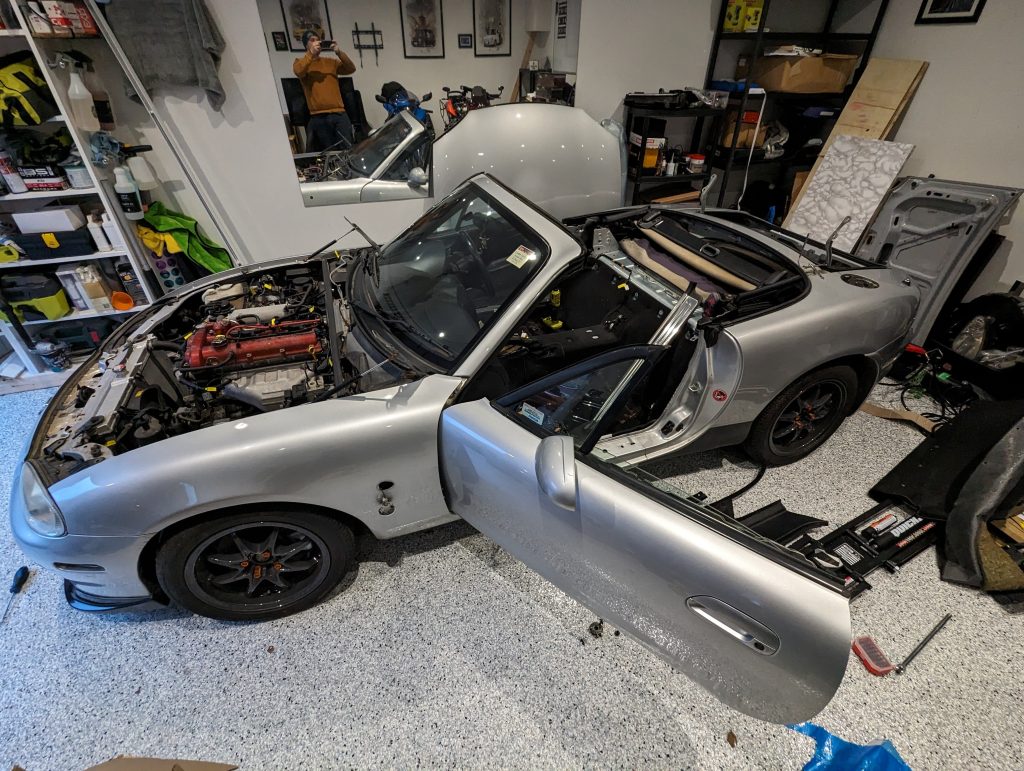
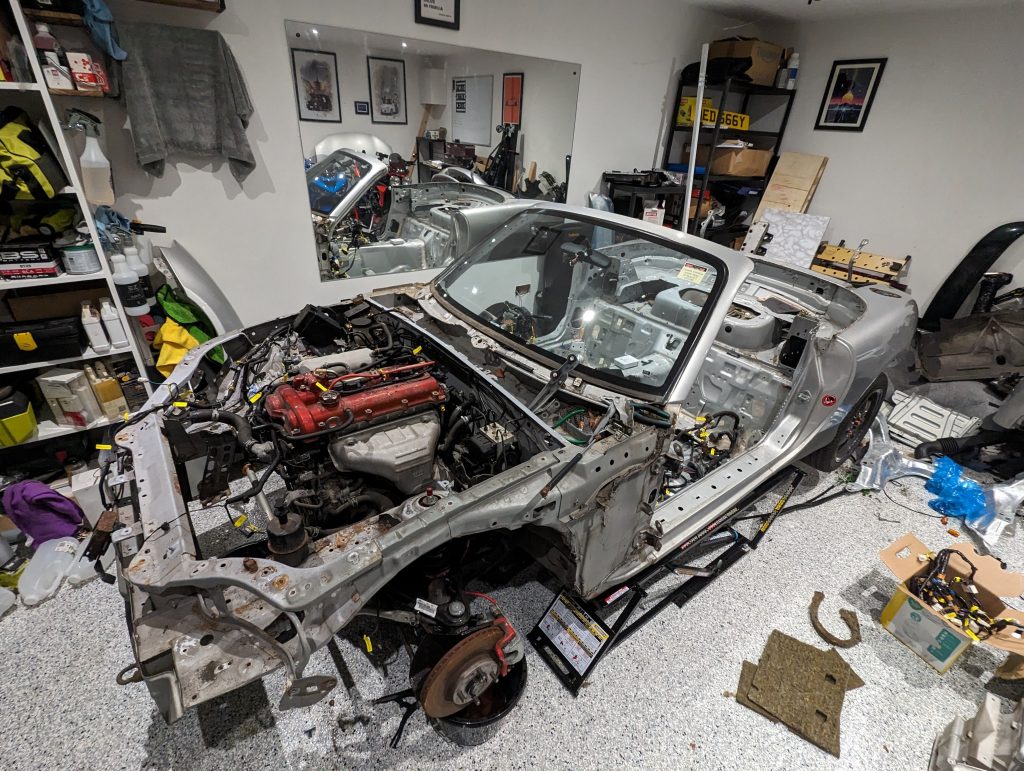
First thing to do is take the car apart with the goal of leaving just the bits that are needed for use on the Exocet. These come in two parts. The “skate” which is made of the subframes, suspension and drivetrain (engine, gearbox, diff and prop). And then a big pile of bits to go back on the new body, being very careful not to confuse it with the equally big (if not bigger) pile of bits to go in the bin.
Bits to remove and keep:
- Clocks and clock surround
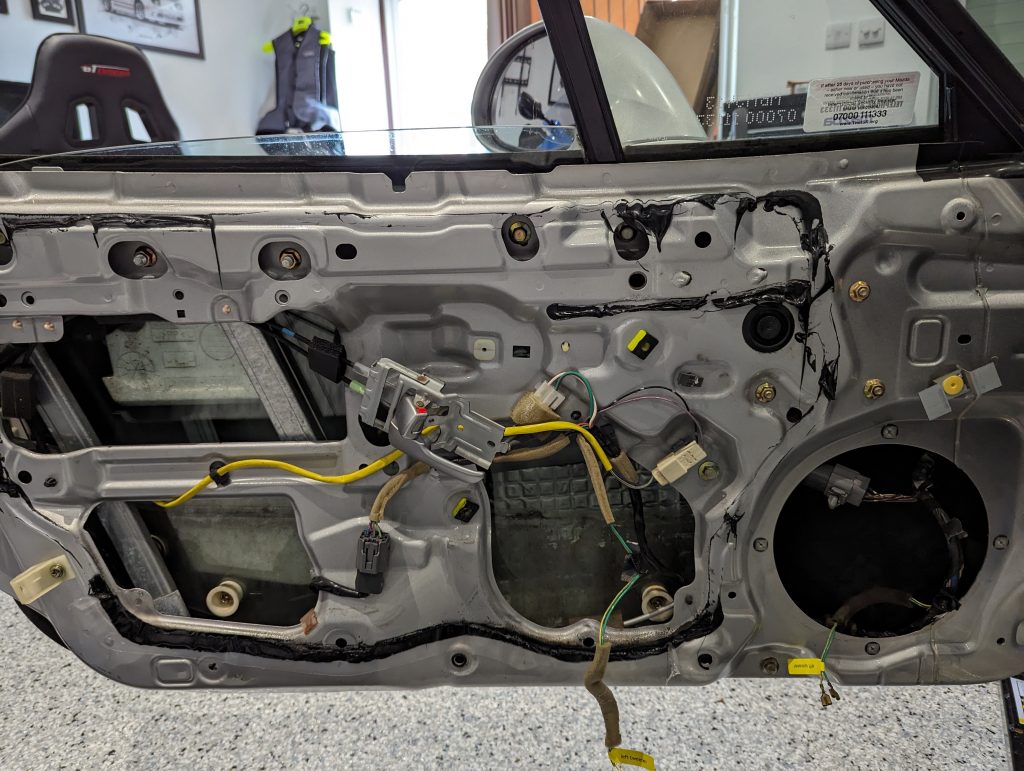
- Loom and ECU (this is fun!)
- Pedals
- Steering column and wheel
- Some chassis bracing
- Fuel tank
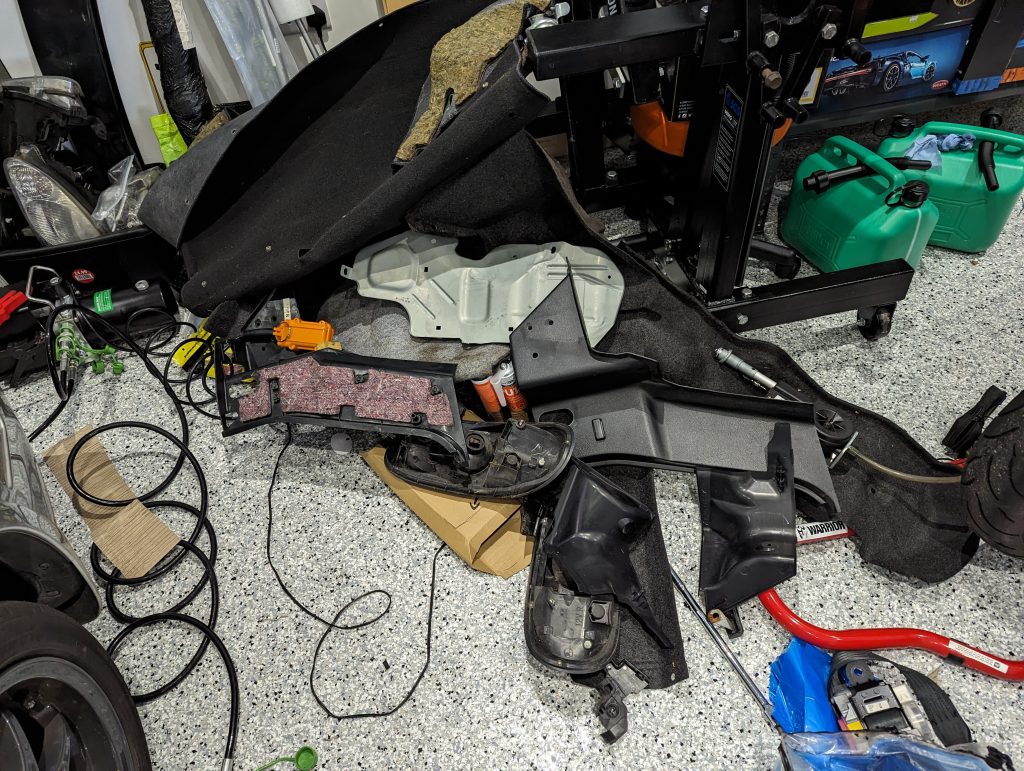
Bits for the bin/facebay:
- Body panels and doors
- Carpets
- Seats
- Dash (and radio, centre console, HVAC)
- Roof
- ABS (optional)
So not a small task, and as it turns out comes with plenty of challenges along the way… in no particular order;
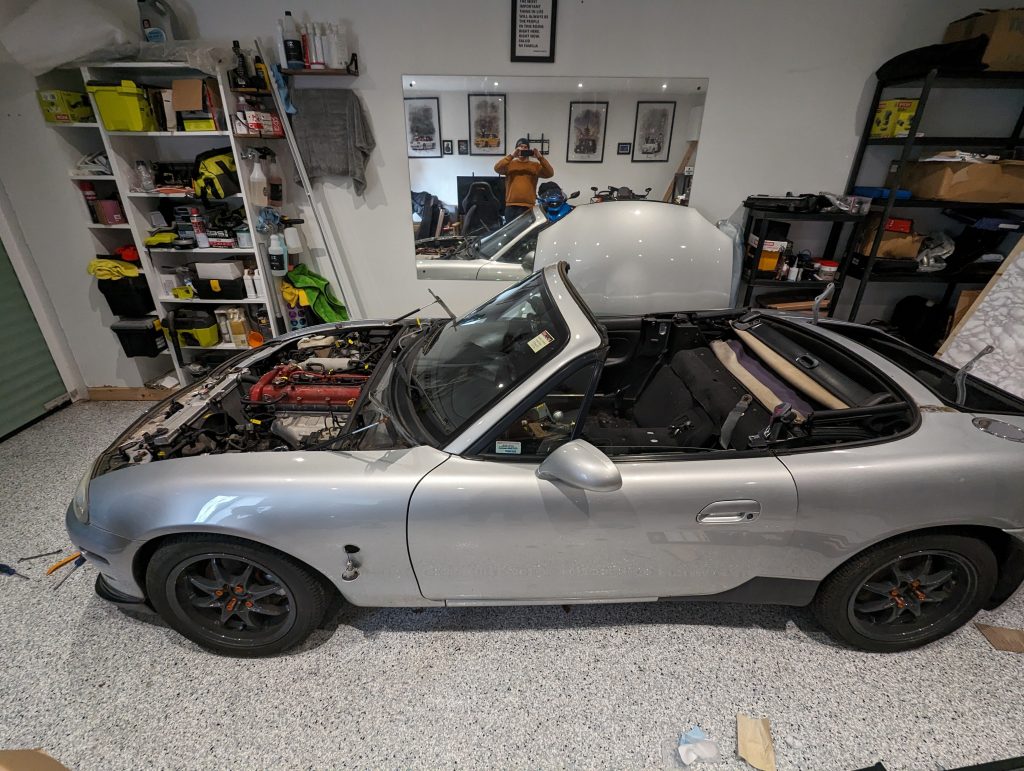
Draining the fuel tank
I was a little nervous about emptying the fuel using the drain plug as I still had quite a full tank and sloshing fuel into a bucket in an enclosed space seemed too much like tempting fate. Instead to have a bit better control of the process, I unscrewed the vent from the top of the tank (once the roof and carpet were removed) and used a valved hose (that I had for draining motorbike fuel tanks) feeding straight into a petrol container. I may still need to drain the last bit out with the drain plug but this was my preference to drain the majority in a more controlled way.
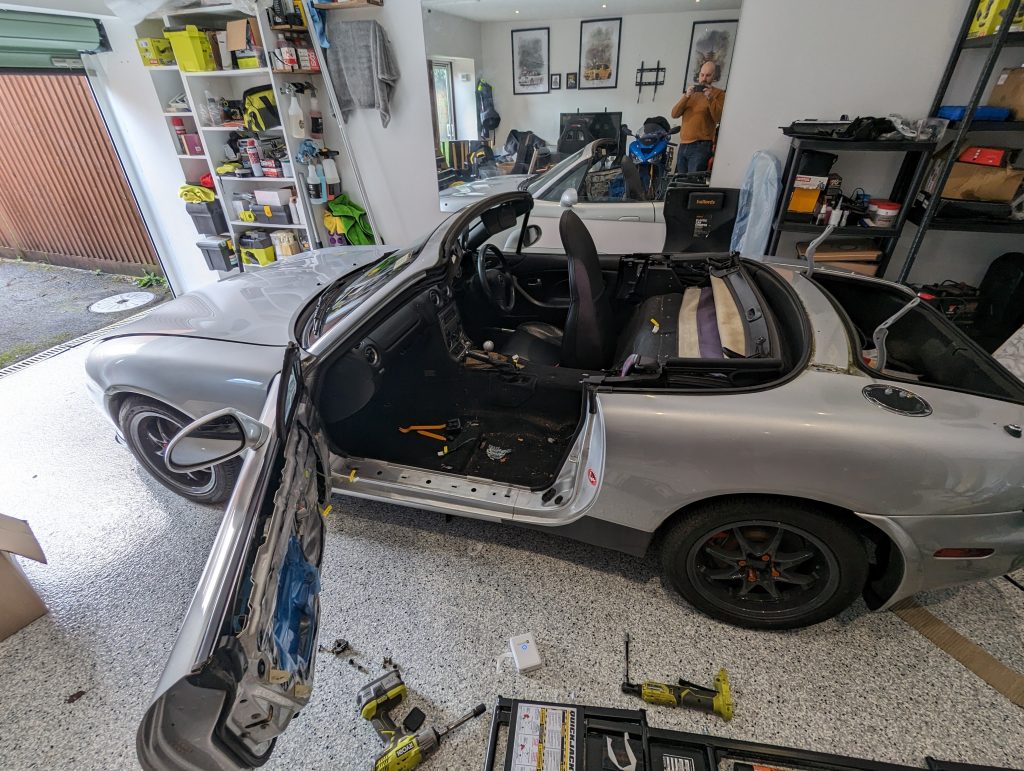
Removing the dash
A few issues I had with this:
- Removing the dash binnacle – once the steering column cover is off it’s just a strong pull
- Removing the HVAC panel – don’t try and remove the cables at the control end, it’s much easier to pop them off the other end, there’s two that feed through to the left behind the glove box, and one to the right
- Removing the passenger airbag took a bit of Googling. There are two bolts underneath once you’ve removed the glove box, then trim tools will do the rest
- There’s an earth connection in the centre behind the HVAC panel and another under the dash on the drivers side
- The loom routes at the top behind the vents and is held with two pretty inaccessible clips, no idea where the back of these clips are but a bit of brute force broke the clips off
- As well as the 2 bolts on either end of the dash, and the 1 in the centre at the top, there are 4 more (2 each side) in the centre behind the blanks or footwell lights.
- A couple of lessons learned from others: make sure to unclip the fuse box and OBD2 port

Rear hub nuts
If you have a mk2.5 I believe that in order to remove the rear brake shields (needed to fit the wingstays) you have to remove the hub and therefore the hub nut. Best to do this while there’s some brake or the wheel is on the ground. Firstly I bought a 29mm socket following a brief bit of googling, then found out my rear hub nuts are 32mm so ordered a second one. Then had the issue of having a lengthy breaker bar, but apparently not lengthy enough. The solution to this was the Ryobi impact wrench which when turned up to 11 finished the job nice a quick.
Steering column
Top of the column isn’t too bad, some bolts in the firewall and one bolt behind the rubber gaiter which holds the universal joint brings most of the column inside the cabin away. For the rest, it’s basically a clamp with a bolt and some splines which may or may not be rusty af. Hit it as hard as you need but as gently as you can.
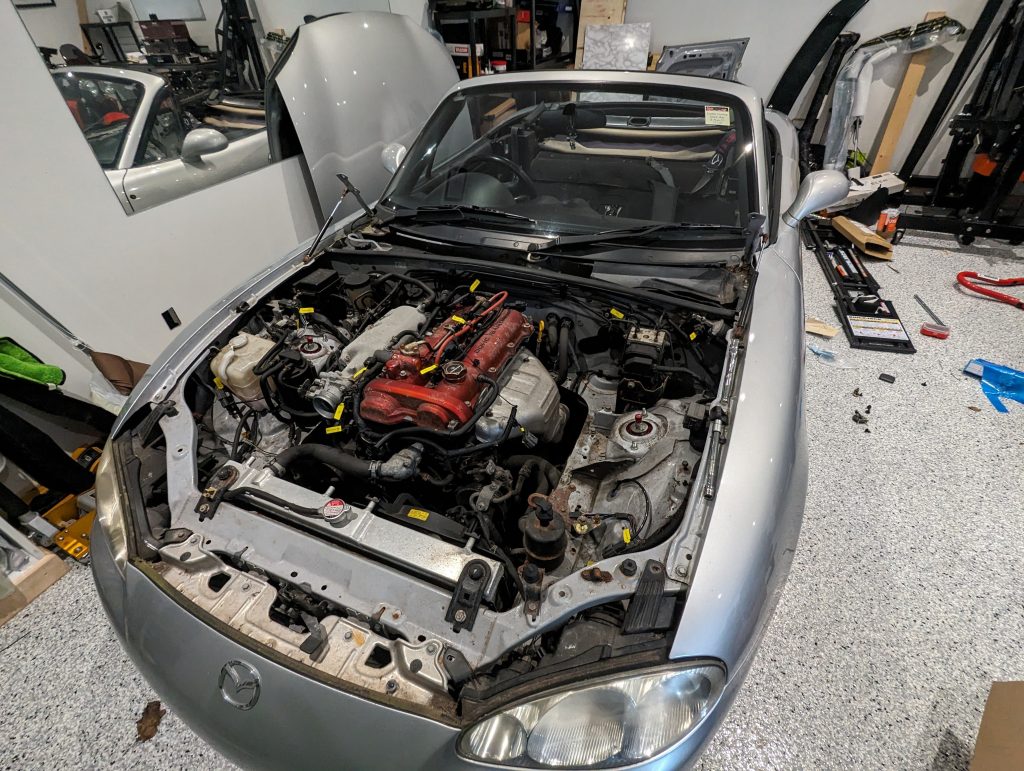
Engine bay
Make sure to disconnect the clutch lines from the firewall clips (and the brake lines can help manoeuvre stuff around), undo the earth behind the engine, and undo the fuel line. Also in my car the clutch line from the master to the slave is attached to the body at the rear of the engine on the passenger side (next to the earth mentioned above), this needs to be removed but the bolt is under the line so if you need to remove be careful of leaking fluid (and definitely don’t assume it’s a brake line which is already empty and then pour clutch fluid everywhere).
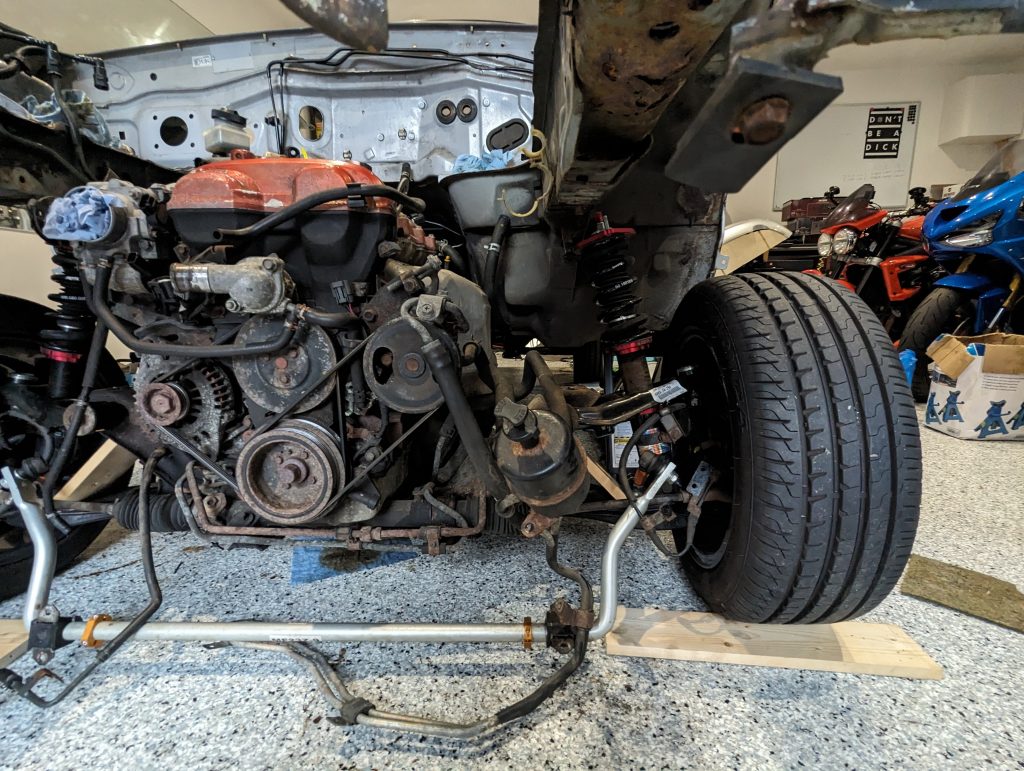
Subframe bolts
The build guide says that there are 8 bolts in the front subframe and 6 in the rear. Just to help those looking for them (and in particular those who might miss the last two in the front, easily done apparently), there are 4 nuts and 4 bolts in the front subframe, and 4 nuts and 2 bolts in the rear.
At the front you have
- two nuts on each side connecting to the threads on the chassis rails
- one bolt on each side just behind the lower wishbone (easily missed)
- one bolt at the back of the subframe (this may have already been removed if you have the gearbox undertray)
At the rear it’s harder to miss them but may also harder to remove them:
- two nuts on each side just below and behind the shock mounting
- one bolt on each side right in between these two nuts
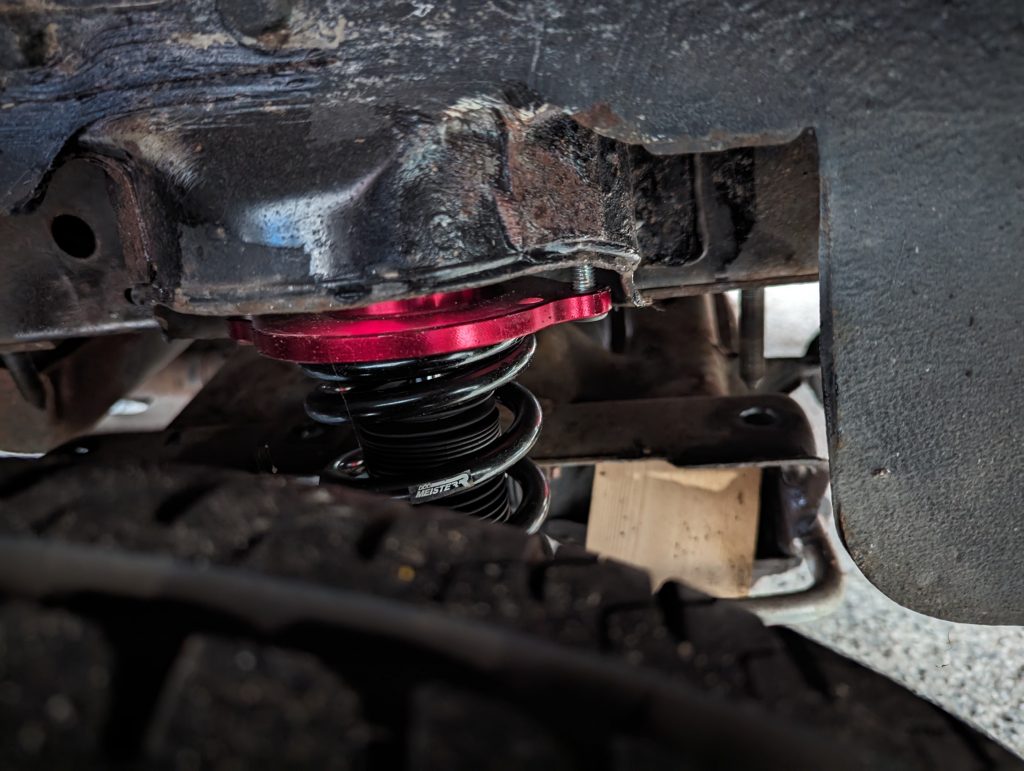
I didn’t have too much trouble removing the front ones, they mostly came quietly. However a number of the rear nuts were very challenging to remove. Use plenty of penetrating spray, don’t overdo it if you have a impact wrench (otherwise known as a dac-dac or ugga dugga) and don’t underestimate the power of a good bit of wire brushing to clean up the threads. As with many parts of this process, patience and a tea break are incredibly useful tools.
The other challenge with this is, if you jack up the body then undo the subframe bolts the subframes will just fall out. In my case I took one end at a time, jacked up the subframe (either off the engine oil pan at the front or diff at the back), took the wheels off, undid the nuts and bolts, put the props in to support the subframe, put the wheels back on and dropped everything down. Then the body can be lifted off.