

While the donor car has been being dismantled and organised, I have had the opportunity to meet up with a fellow Exocet builder in Basingstoke. He has a lovely red chassis based on the same model as my own, so understandably he’s had to answer many many model specific questions from yours truly.
He is very much at the other end of the journey to me, with his car almost ready to be on the road. There are lots of little quirks of the IVA (individual vehicle approval) rules but one such is that, aside from a few exceptions, you can’t have sharp bits. I know, picky aren’t they. But they have a strict definition which is that anything contactable (again specific definition but I’ll spare you) must have a radius of at least 2.5mm. One area that falls foul of this on the Exocet is the top of the rear suspension. So when I was told that that was something that still needed figuring out, I decide that I would repay all the patient question answering with a solution (and it would be really fun for me – no really, I like that sort of thing). So I took some measurements and said I’d be back the following week.
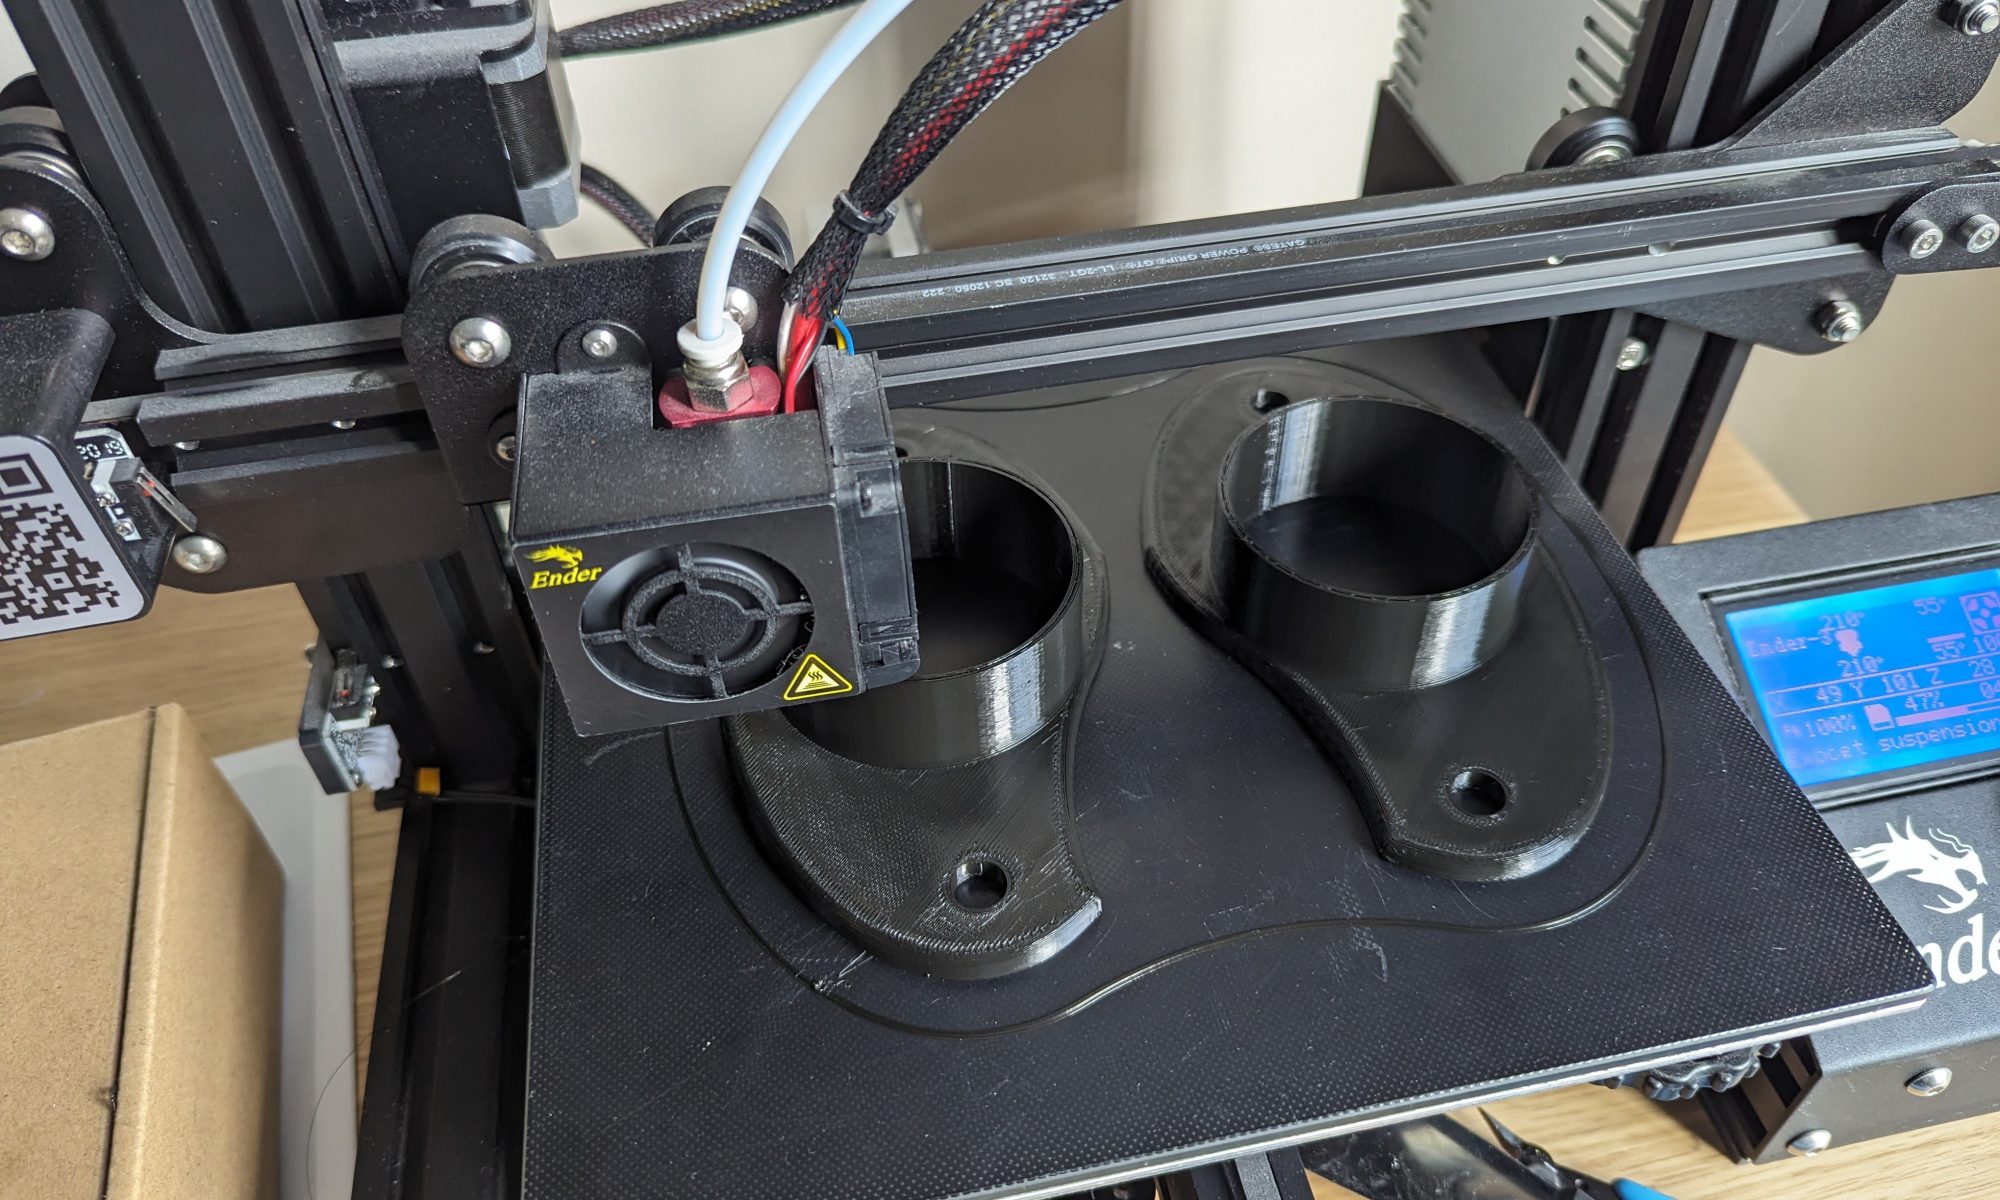
I went home and CAD up a simple design to fit the purpose, loaded it onto the 3d printer and printed out a clever little (if I do say so myself) mount for the top of the suspension. The excitement to try it out when I returned the following week was too much, would it even work? Of course… not. I’d measured wrong and the piece was just slightly too short to fit. And that was the first of a handful of iterations.
The second iteration fit, but when we torqued up the nuts to secure it (it used the same nuts as the suspension and you don’t want that falling off) the cover split, the plastic wasn’t strong enough, even where I’d specially printed it solid hoping it would withstand the pressure.
A couple more weeks at the drawing board trying to decide the best solution.
The third iteration had a larger hole to fit over the suspension nuts, thus not relying on them, then a smaller hole and a plastic nut to then hold the cover on. Having not learned my lesson the first time and guessed at the measurements I was way out and yet again it didn’t fit. Though it looked like the principle could be sound.
One more time then with some more measurements and… Eureka! The thing fit even better than I could’ve hoped. The nuts were snug, I’d added a taper to the nuts and the top of the holes to give a better fit. Everything lined up perfectly.
In the end, it was a fun problem to solve, and given how well it turned out, I definitely banked a few more favours for the many many specific questions I’ll get through my build.


